

Wilderness First Aid Kit Checklist 2026
Table of Contents
- What Makes a Wilderness First Aid Kit Different
- Wilderness First Aid Kit Essentials: The Full 2026 Checklist
- Lightweight First Aid Kit for Backpacking: Weight-to-Utility Tradeoffs
- Scenario-Based Packing: Customizing Your Wilderness First Aid Kit by Trip
- Wilderness First Aid Kit Expiration Dates: What to Check and When
- How to Restock Wilderness First Aid Supplies Without Overspending
- Legal and Liability Considerations for Wilderness First Responders
- Conclusion
Last Updated: August 22, 2026
Most people building a wilderness first aid kit start with a retail grab-and-go kit and call it done. That's a mistake. Standard kits are designed for offices and kitchens, not backcountry trails where the nearest ER could be a two-day hike away. This guide from RestockYourKit.com breaks down exactly what belongs in a wilderness first aid kit, why each item earns its weight, and how to customize your kit based on trip type, group size, and skill level.
What Makes a Wilderness First Aid Kit Different
A wilderness first aid kit is designed for remote environments where professional emergency services are unavailable or significantly delayed. Urban first aid kits assume a paramedic arrives in minutes. Wilderness kits assume you are the first responder, the triage officer, and sometimes the only medical support for hours or days.
The core differences come down to three factors: extended care capability (wounds need to stay clean and protected for days, not hours), environmental hazard coverage (anaphylaxis, hypothermia, and blister management are wilderness-specific priorities), and self-sufficiency (you carry what you need). Patient assessment skills define backcountry medical readiness, but the right supplies make those skills executable.
Wilderness First Aid Kit Essentials: The Full 2026 Checklist
Every wilderness first aid kit should be organized by category so you can locate items under stress.
Wound Care and Dressings
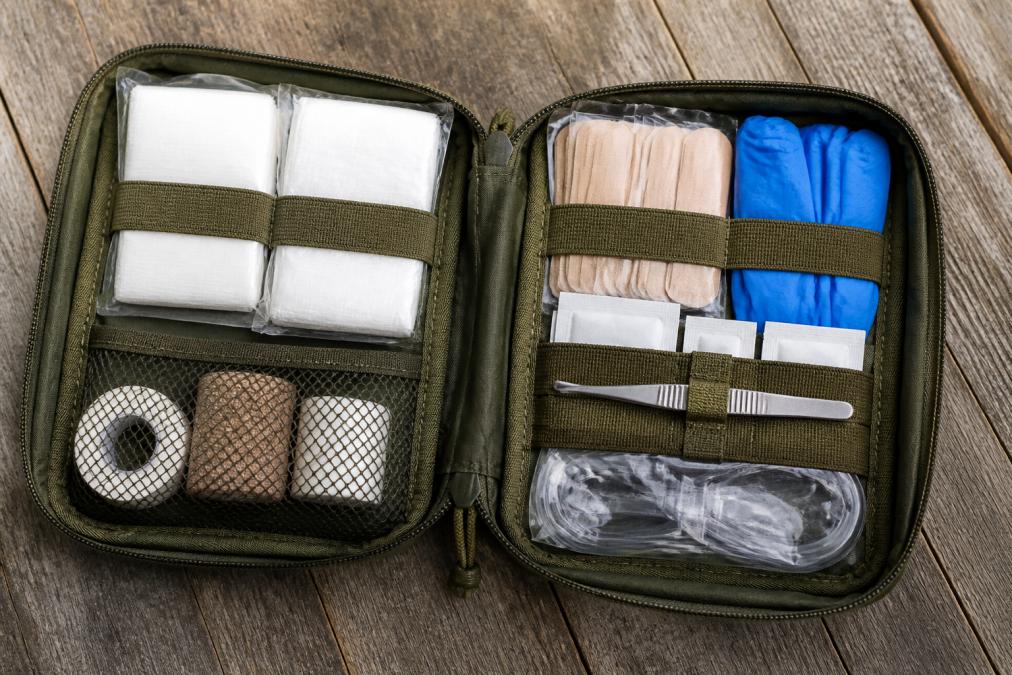
Wound care is the backbone of wilderness medicine. Most field injuries involve lacerations, abrasions, punctures, or burns, and a sterile field is your first line of defense against infection (peer-reviewed research).
Core wound care supplies:
- Sterile gauze pads (4x4 inch, at least 10 units)
- Adhesive bandages (assorted sizes, 20-30 count)
- Non-adherent dressings for burns or raw wounds (4-6 units)
- Rolled gauze (2-inch and 4-inch widths)
- Medical tape (waterproof preferred, 1-inch and 2-inch rolls)
- Elastic wrap (ACE-style bandage, 3-inch and 4-inch)
- Triangular bandage (2 units, doubles as a sling or tourniquet)
- Irrigation syringe (20cc minimum, for wound flushing)
- Antiseptic wipes (individually wrapped, 20 count)
- Antibiotic ointment (single-use packets preferred)
- Wound closure strips or butterfly closures (10-15 count)
- Safety pins (6-8 count, for securing bandages and slings)
The irrigation syringe is the item most beginners skip and most wilderness medicine instructors insist on. Flushing a wound with clean water under pressure removes debris and dramatically reduces infection risk (peer-reviewed research).
Medications and Topical Treatments
Medications in a wilderness first aid kit manage pain, inflammation, allergic reactions, and infection risk over extended periods.
Recommended medications and topicals:
- Ibuprofen (200mg tablets, 30-count), for pain and inflammation
- Antihistamine (diphenhydramine or cetirizine, 20-count), for allergic reactions
- Hydrocortisone cream (1%), for contact dermatitis and rashes
- Antibiotic ointment (bacitracin or triple antibiotic, 10 single-use packets)
- Antacid tablets (20-count), for gastrointestinal distress
- Oral rehydration salts (4-6 packets), for dehydration management
- Epinephrine auto-injector, if anyone in your group has a known anaphylaxis risk
The epinephrine auto-injector is a prescription item requiring coordination with a physician, but it belongs in any group kit where anaphylaxis is a realistic scenario.
Essential Tools and Instruments
Tools extend what your hands can do and enable proper patient assessment and intervention.
- Trauma shears (heavy-duty, able to cut through clothing and webbing)
- Tweezers (fine-tip, for splinters, ticks, and debris removal)
- Thermometer (digital, with protective case)
- Nitrile gloves (at least 4 pairs, non-latex)
- Irrigation syringe (if not included in wound care section)
- Small LED flashlight or headlamp with spare batteries
- SAM splint or moldable aluminum splint (for fractures and sprains)
- Emergency whistle (pealess, audible at distance)
- Permanent marker (for documenting patient assessment times and medication doses)
- Waterproof notepad and pencil
Trauma shears are non-negotiable. Attempting to cut through a wet hiking boot or layered clothing with folding scissors in the field is dangerous and slow.
Basic Life Support Supplies
Basic life support supplies bridge the gap between an incident and professional care.
- CPR face shield or pocket mask (with one-way valve)
- Nitrile gloves (additional pairs dedicated to this section)
- Tourniquet (CAT or SOFTT-W style, one per kit minimum)
- Hemostatic gauze (one package, for severe arterial bleeding)
- Chest seal (vented, two units, for penetrating chest trauma)
- Mylar emergency blanket (two units, for hypothermia prevention)
A CPR face shield with a one-way valve protects the rescuer during rescue breathing and should be in every kit regardless of group size.
Blister Prevention and Treatment
Blisters sideline more hikers than sprains do. A blister prevention strategy is cheaper and lighter than treating a bad blister mid-trail.
- Moleskin (pre-cut sheets and a small scissors)
- Blister moleskin with adhesive backing (Spenco-style, 6-8 patches)
- Hydrocolloid blister pads (assorted sizes, 10 count)
- Alcohol wipes (for skin prep before moleskin application)
- Petroleum jelly packets (for friction prevention on known hotspots)
- Needle and thread (for draining large, intact blisters when necessary)
The standard approach to blister treatment in the backcountry is to drain large, tense blisters with a sterile needle at the edge, leave the roof intact as a natural dressing, and cover with a hydrocolloid pad.
| Supply Category | Minimum Items | Weight Range | Priority Level |
|---|---|---|---|
| Wound Care and Dressings | 12 item types | Light to moderate | Critical |
| Medications and Topicals | 6-7 item types | Light | Critical |
| Essential Tools | 8-10 item types | Moderate | High |
| Basic Life Support | 6 item types | Moderate to heavy | Critical |
| Blister Prevention | 5-6 item types | Very light | High |
Lightweight First Aid Kit for Backpacking: Weight-to-Utility Tradeoffs
Every gram counts when you're carrying everything on your back. The biggest challenge is resisting the urge to strip out items that feel unlikely and then discovering mid-trip that you need exactly those items.
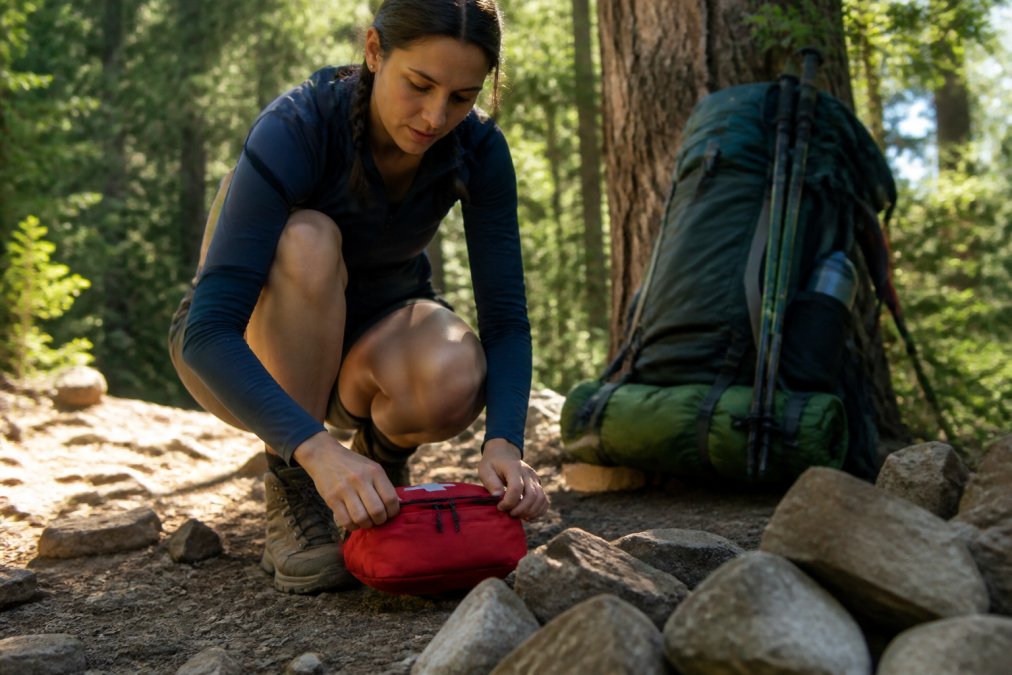
For each item, ask: how likely is this scenario, how severe is the outcome if I don't have it, and can something else in my kit substitute for it?
High utility, low weight, always carry: Adhesive bandages, antiseptic wipes, antibiotic ointment packets, moleskin, nitrile gloves, ibuprofen, antihistamine
High utility, moderate weight, carry for trips over two days: Irrigation syringe, trauma shears, SAM splint, elastic wrap, tourniquet, hemostatic gauze
Situational, carry based on group and terrain: Epinephrine auto-injector (known allergy risk), chest seal (technical terrain), oral rehydration salts (desert or high-heat environments)
A common mistake is packing duplicates of low-risk items while leaving out single high-consequence items because they seem unlikely. A tourniquet weighs very little and addresses a potentially fatal scenario.
Scenario-Based Packing: Customizing Your Wilderness First Aid Kit by Trip
What you carry for a weekend car camping trip differs from what you carry for a two-week backcountry traverse or a river canyon descent.
Trauma and Major Injury Management in Remote Settings
Remote trauma management requires a different mindset than urban first aid. The goal shifts from stabilization for a five-minute ambulance ride to stabilization for a multi-hour or multi-day evacuation.
For any trip where trauma is a realistic risk, including technical climbing, mountain biking, or river travel, your kit should include a tourniquet, hemostatic gauze, chest seals, and a SAM splint as non-negotiable items. Patient assessment follows the primary survey: airway, breathing, circulation, disability, and exposure. Carrying a waterproof reference card with this protocol is useful for anyone without formal wilderness medicine training.
Scenario-specific additions for trauma-heavy trips:
- Technical climbing: add extra triangular bandages, a full-length SAM splint, and additional hemostatic gauze
- River travel: add waterproof packaging for all supplies, extra mylar blankets for hypothermia prevention, and a tow rope for water rescue support
- High-altitude: add altitude sickness medications if your physician approves, and extra warmth layers for hypothermia prevention
Anaphylaxis, Hypothermia, and Environmental Emergencies
Environmental emergencies catch underprepared groups most off guard. Anaphylaxis can develop within minutes of a bee sting or food exposure. Hypothermia can set in faster than most people expect, even in summer conditions after a water crossing.
For anaphylaxis readiness, the kit needs an epinephrine auto-injector, antihistamine, and a clear protocol. Every member of the group should know where the epinephrine is stored and how to use it before the trip begins. Hypothermia prevention starts before symptoms appear. Mylar emergency blankets are the minimum; for multi-day trips in variable weather, a vapor barrier or a dedicated emergency bivy is worth the weight.
Wilderness First Aid Kit Expiration Dates: What to Check and When
Wilderness first aid kit expiration dates are the most neglected aspect of kit maintenance. An expired medication or a degraded dressing is not just useless, it can be actively harmful.
Audit your kit twice per year: once before the primary hiking season and once at year-end. Medications carry manufacturer expiration dates; replace ibuprofen, antihistamines, antacids, and epinephrine auto-injectors when expired. Dressings and sterile supplies like gauze pads, antiseptic wipes, and wound closure strips have expiration dates on their packaging. Elastic and adhesive items like medical tape, elastic wrap, and moleskin lose adhesion over time, especially if stored in heat. Nitrile gloves degrade with UV exposure and temperature cycling; inspect for brittleness or tackiness before each season.
How to Restock Wilderness First Aid Supplies Without Overspending
Restocking a wilderness first aid kit is where most people either overspend or understock. The overspending problem usually comes from buying a complete replacement kit when only a handful of items need refreshing.
A practical restocking approach:
- Audit the kit after every trip, not just on a calendar schedule. Use what you use; note what you nearly used.
- Replace single-use items immediately: antiseptic wipes, antibiotic ointment packets, nitrile gloves, and wound closure strips.
- Check expiration dates on medications and sterile supplies before each season.
- Upgrade items that failed or underperformed in the field.
- Source individual items rather than replacement kits when only a few things need refreshing.
The modular approach to restocking is more cost-effective than replacing entire kits. Buying individual quantities of what you actually need keeps costs down and ensures every item in your kit is current.
Legal and Liability Considerations for Wilderness First Responders
Wilderness first responders operate in a legally ambiguous space. Most states have Good Samaritan laws that protect individuals who provide emergency care in good faith, but the scope of that protection varies. For Scout leaders, group guides, and outdoor educators, the standard of care question is particularly relevant. If you hold a Wilderness First Responder or Wilderness First Aid certification, you may be expected to perform at that level of training.
Practical considerations:
- Document patient assessments. Use the permanent marker and waterproof notepad in your kit to record vital signs, symptoms, medications given, and times.
- Know your certification scope. Wilderness First Aid, Wilderness First Responder, and Wilderness EMT certifications carry different scopes of practice. Stay within yours.
- Understand your organization's protocols. Scout troops, guiding companies, and outdoor programs often have specific protocols that supersede individual judgment.
Good Samaritan laws in most states protect lay responders acting in good faith. If you're leading groups professionally, consult with a legal professional familiar with outdoor recreation liability in your state.
Building a wilderness first aid kit that actually works when you need it requires understanding the scenarios you're packing for, maintaining your supplies between trips, and knowing the limits of your training. RestockYourKit.com specializes in custom-built first aid kits and individual supply quantities, making it straightforward to build a kit from scratch or restock only the items that need refreshing. With expert-curated modules and hard-to-find medications available in smaller quantities, you can maintain a professional-grade kit without replacing items that are still good. Shop Now at RestockYourKit.com and build a kit that's actually ready for the backcountry.
Frequently Asked Questions
What should go in a wilderness first aid kit?
A wilderness first aid kit should cover wound care (sterile gauze pads, adhesive bandages, medical tape, antibiotic ointment), medications (ibuprofen, antihistamine, hydrocortisone cream), tools (trauma shears, tweezers, irrigation syringe, thermometer), and life support supplies (CPR face shield, triangular bandage, elastic wrap, nitrile gloves). Add blister moleskin and splinting materials for backcountry trips. The exact contents should scale with trip duration, group size, and remoteness from definitive care.
What is the difference between a standard and wilderness first aid kit?
A standard kit is designed for short-term stabilization until emergency services arrive, typically within minutes. A wilderness first aid kit assumes evacuation could take hours or days, so it includes supplies for extended wound management, patient assessment, triage, and environmental emergencies like hypothermia prevention and anaphylaxis response. It also carries more consumables, improvised splinting materials, and tools a first responder would use when professional help is not immediately available.
How often should you replace items in your wilderness first aid kit?
Check your wilderness first aid kit at least twice a year, before spring hiking season and again before fall. Antiseptic wipes and adhesive bandages typically expire within 2-3 years. Medications like ibuprofen and antihistamines have printed expiration dates that should be respected. Nitrile gloves and CPR face shields degrade faster in heat and UV exposure. Any item used on a trip should be restocked immediately rather than waiting for a scheduled review.
How do I build a lightweight first aid kit for backpacking without cutting critical supplies?
Focus on weight-to-utility ratio: multi-use items like a triangular bandage (works as a sling, tourniquet, or wrap) earn their grams. Swap bulky rolled gauze for compressed gauze pads. Choose individually packaged antiseptic wipes over a liquid bottle. Pre-sort medications into a small zip bag rather than carrying full bottles. For solo day hikes, a 100-150 gram kit covers most needs. Multi-day backcountry trips warrant 200-300 grams with trauma and wound closure supplies added.
What are the legal considerations for using a wilderness first aid kit on others?
Most states have Good Samaritan laws that protect individuals who provide emergency assistance in good faith without expecting compensation. However, coverage varies by state and does not always extend to those with formal training acting outside their licensed scope. Wilderness first responders and group leaders should review their state's specific statute. Carrying a wilderness first aid kit and having documented training generally strengthens your legal standing if care is ever questioned.
Can I buy individual wilderness first aid supplies instead of a pre-built kit?
Yes, and for many experienced outdoorspeople this is the better approach. Buying individual quantities of sterile gauze pads, antiseptic wipes, nitrile gloves, and medications lets you match exact quantities to your trip without paying for items you will not use. It also makes restocking simpler, you replace only what was used or expired rather than discarding a full kit. Suppliers who sell items in smaller quantities make this approach practical and cost-effective.